
OptiFine | FPS Boost & Shaders Mod
OptiFine is the classic Minecraft mod for an FPS boost, HD textures, and shader support. This guide walks you through installing it in a few minutes.
What OptiFine Actually Does
OptiFine is the long-running Minecraft optimization mod that lets the game run faster and look better at the same time. It bundles an FPS boost, full HD texture support, built-in shader support, dynamic lights, and a deep set of video settings you can tune for your hardware. On a low-end laptop it can turn a stuttering world into something playable. On a fast rig it unlocks connected textures, antialiasing, and shader packs that vanilla cannot touch.
You get two ways to run it. The standalone installer drops a ready-made profile into your launcher and needs no other mod loader. The Forge route lets you stack OptiFine alongside other mods in one .minecraft/mods folder. Pick the path that matches how you play, then follow the matching section below.
For the download itself, grab the JAR from the OptiFine mod page on this site. Always pull it from the official source so you avoid repackaged installers.
Standalone OptiFine Install (the quick path)
This is the easier route and the one most players should take first.
- Locate the OptiFine file you just downloaded
- Double-click the file to open it
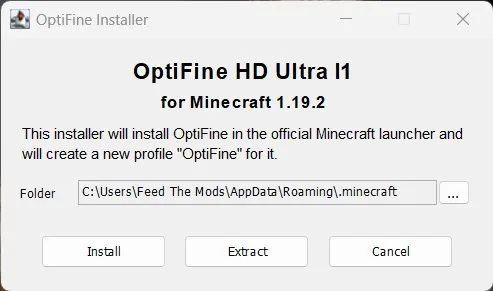
- Click the install button to complete the installation
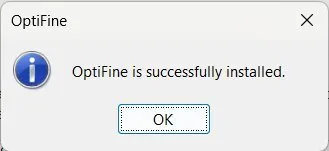
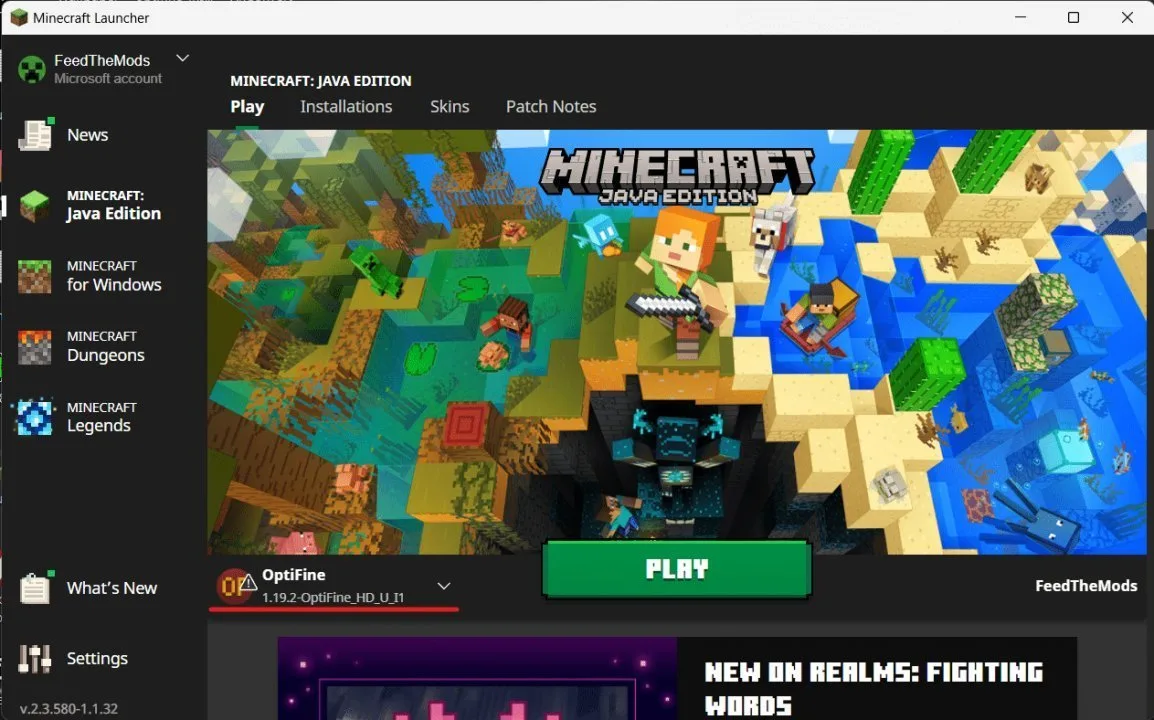
- When you are done just launch Minecraft and select the Optifine profile and enjoy improved performance and graphics.
If the JAR opens in an archive tool instead of the installer, right-click it and choose Open with Java, or run java -jar on the file from a terminal. That usually means Java is not set as the default handler for .jar files on your system.
A quick note before you start. Launch the vanilla version of Minecraft you want to mod at least once. The installer needs the version files that Minecraft creates on first run, and skipping this step is the most common reason the install fails.
Installing OptiFine With Forge
The Forge route is for players who want OptiFine living next to other mods. Make sure Forge is set up first. Our Forge guide walks through that side if you have not done it yet.
- Ensure that Forge is installed and ready before proceeding. Follow our guide on installing Forge if you haven't already done so.
- Open the Minecraft Launcher, click on "installation," and then click on the folder icon button.
- A new window will open select the Mods folder
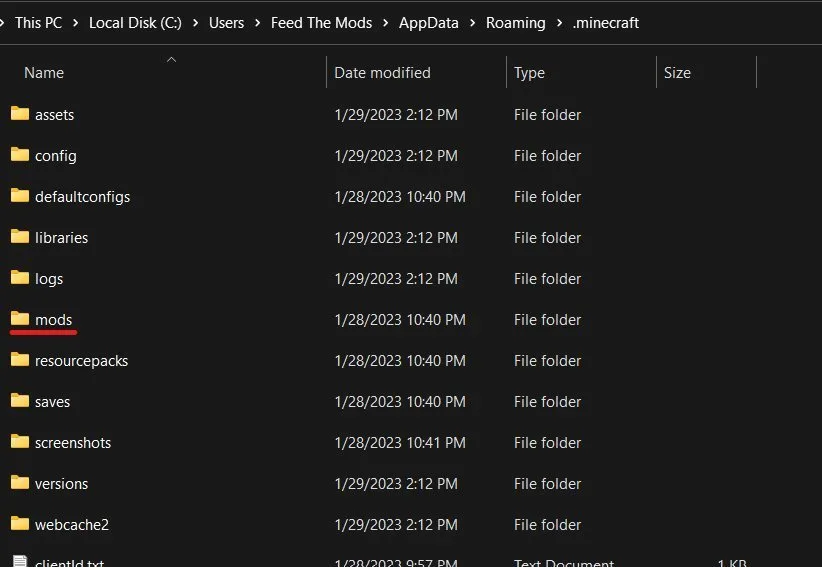
- Drag and drop the Optifine .jar file into the Mods folder.

- That's all Optifine is now installed and ready to use ! to verify just start Minecraft and create a new world, hit f3 and you should see the Optfine version at the top right corner

Grab the Forge-compatible OptiFine build, not the standalone one. The downloads page labels each build, so match the label to the Forge version you already installed.
Enabling Shaders in OptiFine
Once OptiFine is running, shader packs are where the visual payoff lives. Open Options, then Video Settings, then Shaders. Click Shaders Folder and drop a shader pack ZIP into it. Pick the pack from the list, click Done, and your world rerenders with the new look.
Good starter packs include BSL, Complementary, and Sildur's Vibrant. Each has a different mood, so try a couple and see which fits your world. You can swap packs in and out without restarting the game.
OptiFine FAQ
Does OptiFine work with Bedrock Edition?
No. OptiFine is built for Minecraft Java Edition only. Bedrock has its own rendering pipeline and does not run Java mods. Bedrock players looking for a boost should look at the renderer options built into the Bedrock client instead.
Is OptiFine still being updated?
Yes. The developer posts new builds for each major Minecraft release, and preview builds usually land within a few weeks of a new version. Updates take longer than open-source projects because the whole rendering pipeline has to be rebuilt for each release, but the project is not abandoned. The most recent stable build shipped in early 2026, so check the project page for the current status before you install.
Do I need to install Java separately?
Usually yes. The Minecraft Launcher bundles its own runtime, but the OptiFine installer needs a desktop Java runtime to run the JAR. Install a current Java build and set it as the default handler for .jar files, then double-click the installer again.
Can I run OptiFine with other mods?
Yes, through the Forge route above. Not every mod plays nicely with OptiFine, though. Check each mod's compatibility notes before you stack them. If a mod lists Sodium or Iris as a dependency, it generally expects the Fabric or NeoForge stack instead, and OptiFine will not load there.
OptiFine or Iris for shaders?
Both work. OptiFine is the simple standalone pick with everything bundled in one installer. Iris, paired with Sodium, tends to deliver bigger FPS gains on the Fabric and NeoForge stacks and updates faster since it is open source. If you want a one-file install, go OptiFine. If you are already on Fabric or NeoForge and want raw performance, our Iris install guide covers the other path.
Discussion
No comments yet
Be the first to start the discussion.


